Sunday, September 03, 2006

Chest starts to take shape

Been a while since my last post. Got caught up with work. Well today I did a lot
of work on the chest. I've managed to get it to be able to pull in and out for transformation.
I think I still am going to have to play with some scale issues for the transformation,
but I think it should work fairly well. Tomorrow I'll start adding more aesthetics to
the chest to make it look more prime like.

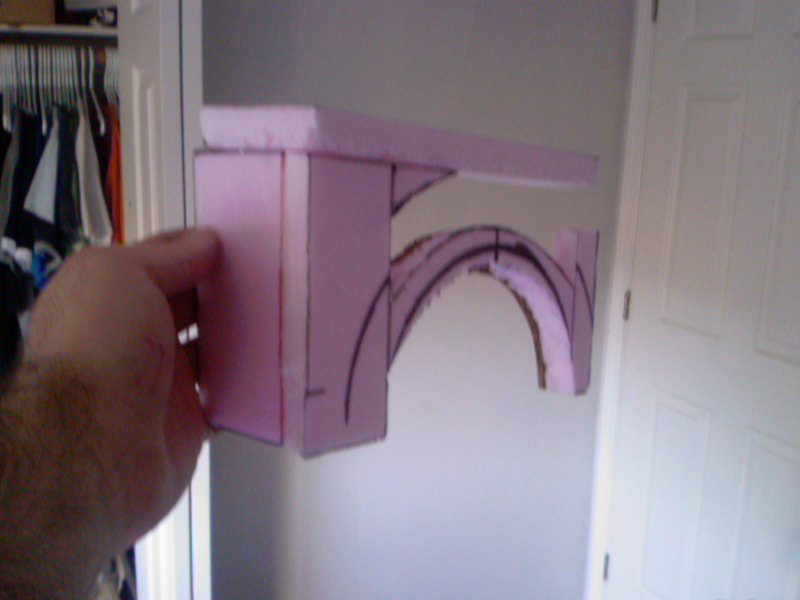
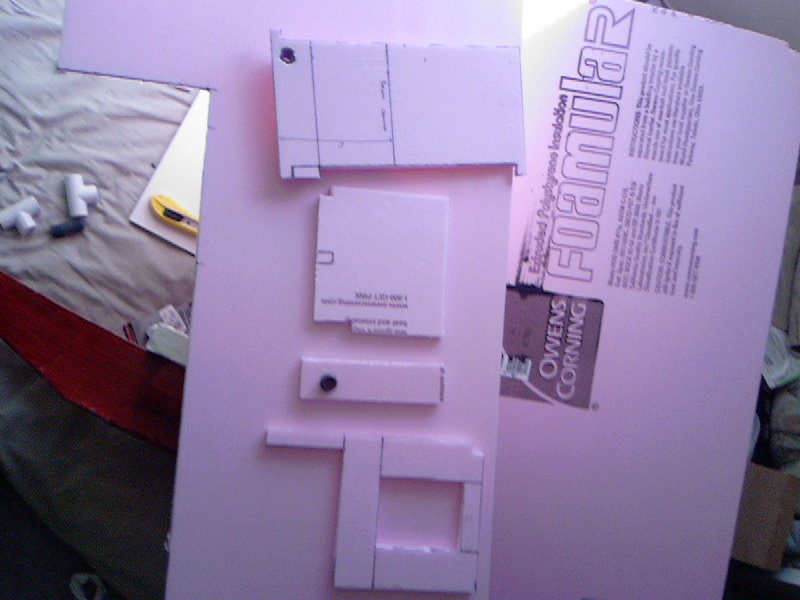
Beginning of the back, you can see how it slides in and out.

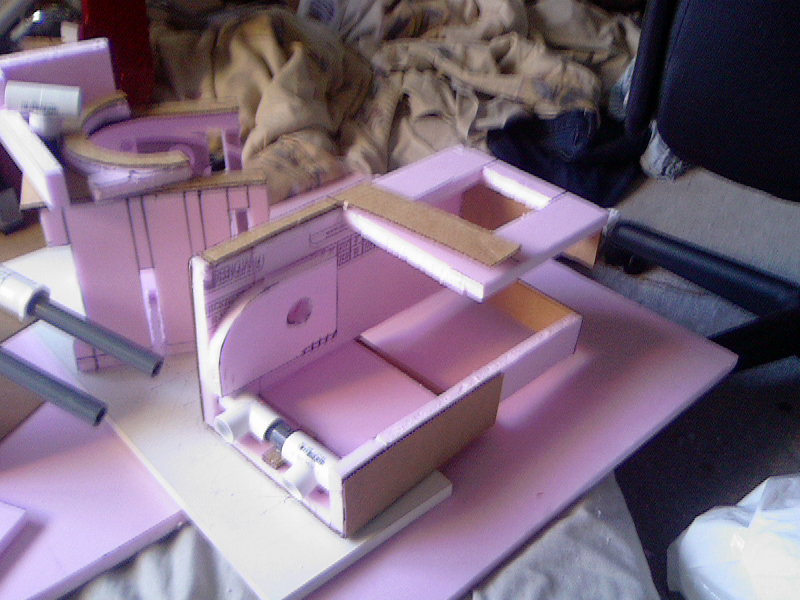
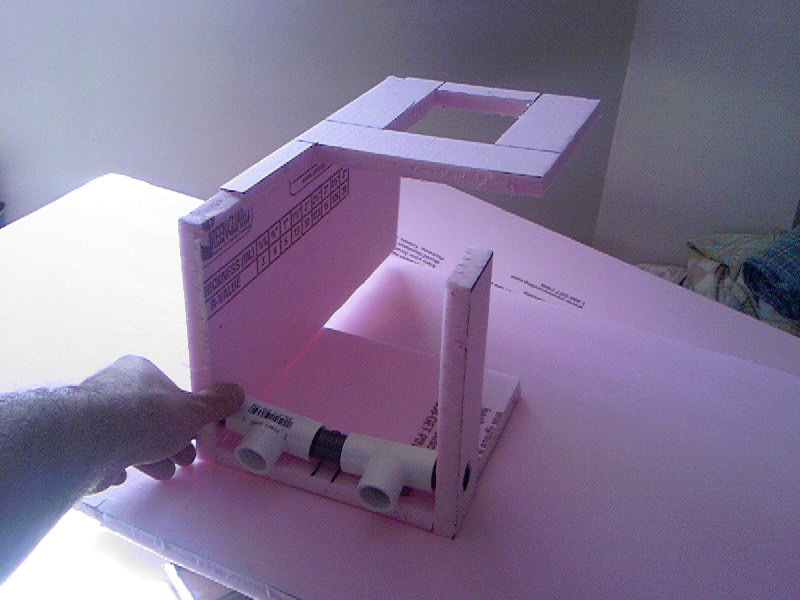
Image of the 2 sides pulled out, the empty space will be hidden by the shoulder during transformation.

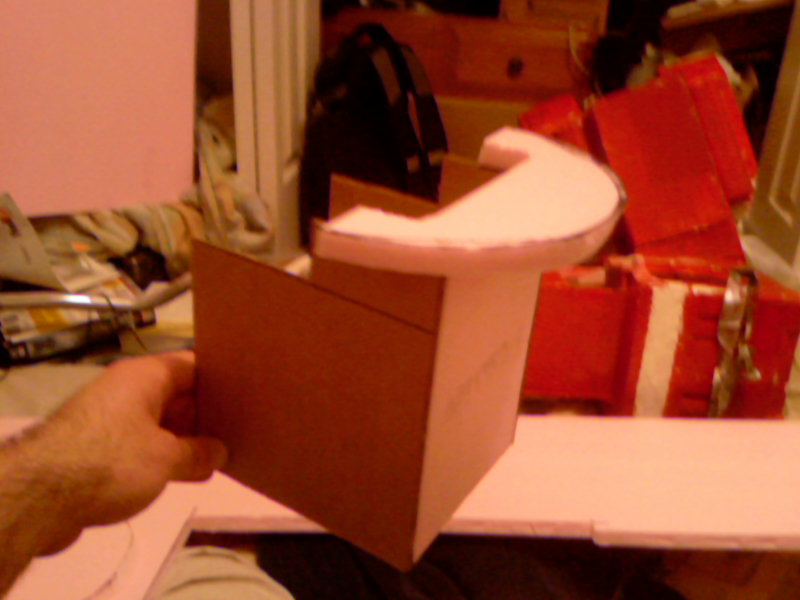
Comparison shot with old prime chest.

Another comparison shot.

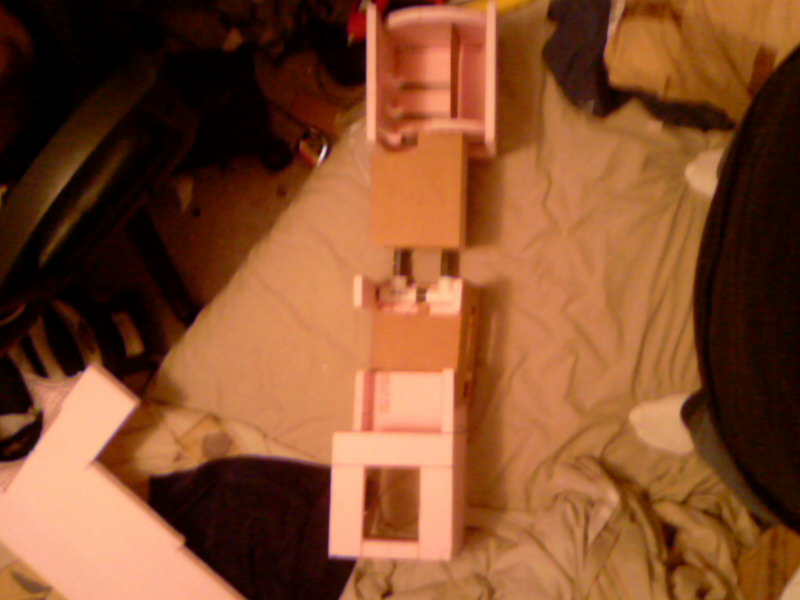
The chest with the sides pulled out for transformation.

Saturday, August 26, 2006

More work on the shoulder

The last two days have been stressful costume days. My plans for the shoulders kept
failing thanks to the transformation. I think though I've finally got a system worked out
that will allow rotation of my arm in both the z and x axis. I built a prototype and tested it
out so far it seems to be working. I also began working on my chest and back which looks
to be another huge design, though it shouldn't be as difficult as the shoulders proved
to be.
Here's the shoulder mechanism from the outside.


Here's the shoulder mechanism from the inside.

The way the shoulder works is that there is a piece of tubing that can
rotate around it, which is attached to the other shoulder piece. The new piece
will be attached to the chest and will be able to swivel on the z-axis to allow
more mobility.

Here's the upper arm again, I added some more tubing to
strengthen the whole system.
This is going to be the back. It will pull apart to make the chest
bigger to allow for the arms to fit at my sides in truck mode.

Finally here's the forearm just added some more cardboard
for added integrity.

That's all for today, now I'm off to the bar for some partying :D.

Thursday, August 24, 2006

Shoulder starts to shape up

I did a lot of work on the shoulder tonight. I built the mechanism which
will allow for the forearm to move left to right *hopefully*. It's difficult
to test at this stage since everything is still pretty loose and not really
secured down as I prototype the arm and move pieces around. I did
some tests though and it seems as though it should rotate properly, though
I do see some problems where it could potentially pop out of place, I will
just have to be careful when I'm wearing the costume as to not damage
it as that would wreck the transformation. There are some slots on the
side of the shoulder which I cut in, these are where the smokestack will
connect and it will swivel from the back to the side as it transforms.
Quite a lot of pictures today.

Here's the pieces of the shoulder layed out ready to be
assembled.

This is the upper arm which attaches the forearms to the shoulders
the circular piece is part of what is used to rotate the forearms.

Here's the shoulder all glued together and attached to the upper arm.
You can see where the smokestacks will connect in this picture
and how they will swivel from side to back.

Here's a view from the top, the large circular piece connects down
to the upper arm to help with the swivel. The biggest problem is with the
lower part coming off of its tracks.

A view of the arm all attached, kind of transformed.

The arm from behind. Good shot of the "hydraulics"

Shot of the arm all layed out, can see the inside of the shoulder.
The upper arm is rotated 90 degrees in this shot.

Monday, August 21, 2006

Hydraulics work :D

So I did a lot of work on the arms the last two days. The main
frame of the forearm is nearing completion, I really wanted to test
out how the "hydraulics" would work on the arms so I built part of
the upper arms, it worked fairly well, I need to get some more tubing
for the upper portion of it though, cause it kinda likes to go where it
wants to and doesn't work out so well when I have my arm in it, but
seems like it should stabalize once I get the rest of the supports for it.
Tomorrow I'll probably try to finish the rest of the upper arm frame and
see how it all works together.

Arm laid flat, I should really rotate these before posting lol.


Another arm laid flat.


Arm from back, good shot of hydraulics


Arm in kinda transformed mode lol.

Sunday, August 20, 2006

Forearm Takes Shape

Taking a break from working on the costume. The forearm is starting
to shape up. I have the general design of how it's gonna work out in my
head now. I measured it up with the chest to make sure it'll all fit together
in truck mode. So far so good.

Here's the 4 pieces I've built so far which will make up the forearm.

Here's the pieces put together, nothing glued yet. you can see on the
top an open space near the hand, that's going to be a flip up communicator
like the Masterpiece Prime has. The piping in the back is going to be where
the fake hydraulics hook into, they can freely rotate. The open area on the right
part of the arm is going to be a hinged piece allowing my whole arm to pull
out when it's time to transform. The reason the bottom is so short is that
the headlight is going to swing up from underneath to cover the front of the arm.
So the headlight will be making up the rest of the bottom of the forearm.

Dollar Store

I went out to pick up a few more supplies today. I needed to pick up a ruler and some markers so I went to the dollar store, which is the greatest place for costume supplies. I picked up 2 rulers, a square, a measuring tape, pack of markers, and some glue sticks for the glue gun for just 8 bucks.

Last Prime Costume

Here's an image of me in the last Prime costume I built, and which I'm basing the
genereral design of this prime off of.

Beginning Supplies

Here's a few photo's of the initial stages of development.

The initial chunk of foam which will turn into the costume.


This will hopefully become the hydraulics which attaches the upper arm to
the forearm ala Masterpiece Prime.

This is the metal piece which will link the arm to the body. I might have
to hack off part of the long straight piece in order for it to fit in the arm properly.
TheT part is attached to the chest, while the straight piece swivels where the
bolt is located.


First Post

Welcome all to my first blog.
The plan for this blog is to be a place to document the creation of
my sixth transformer costume, and my third Optimus Prime costume.

This will be a fully transformable Optimus based on the G1 version
of Prime.

So far I have only picked up a few of the supplies and drawn up some
designs. Tomorrow I hope to pick up the rest of the initial supplies and
get started on construction.